

What you Will Need:
This make was a single headboard measuring 3ft x 2ft, but you can tailor this sizing to your individual project. This headboard also includes the mattress slip – this is the part of the headboard that sits behind the mattress.
- Chipboard (this make used 11mm SB board)
- Measuring Tape
- Ruler
- Pencil
- Fabric
- Wadding
- Foam
- Fibre back tacking
- Saw
- Wood glue
- Drill
- Spray Adhesive
- T Nuts, M8 Size Thread
- Bolts
- Hammer
- Headboard Struts

Step 1
Firstly, measure and draw out the size of your headboard using the tape measurer in the chipboard and using a saw, cut out your headboard. Then measure out batons for the sides and top of your headboard, leaving the bottom free. Cut out your batons and using wood glue, stick to the sides and top of your headboard. You will then need to screw the batons in from the front of your headboard to ensure it remains in place. Repeat this for all the sides you are adding your batons, leaving the bottom free.

Step 2
Next drill 4 holes into the timber for your struts that will attach your headboard to your bed. Drill these holes around 6 inches from the sides, repeat this step on the other side of the headboard.

Step 3
Next, hammer T – nuts, M8 size thread into the holes which you have just drilled.

Step 4
Now measure out your foam (Toby has used 2” foam), you want the foam to hang over the edges about 1cm on both sides and the top. Trim to the size just measured using an old kitchen knife.
Stick the foam to the board using spray adhesive. Staple into the side of the foam all the way along the board, repeat on other side and top.

Step 5
Cut wadding to headboard size to cover over the foam and place on top.

Step 6
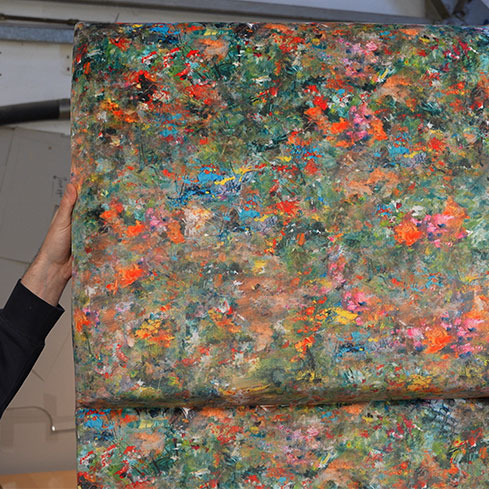
Now its time to measure and cut fabric, measure the headboard, and give plenty of extra. Mark onto fabric and cut the piece out.

Step 7
Now mark where the fabric needs to sit before the mattress slip. Temporarily staple the fabric to this line, making sure the fabric is straight, starting at the middle and working your way around.

Step 8
Now working on the top of the headboard, pull the fabric tight by sweeping up the fabric with your hand, put a temporary staple tack in the middle and either end. Now go back to the middle staple remove and sweep fabric with hand to make sure it is tight and permanently fixed. Once temporary staples are in the other sides, take the middle staple out and keep increasing tension on fabric to then place your permanent staples.
When you reach the end, take out any excess wadding.

Step 9
Now to pleat the fabric on the corners, make sure tension is tight and tack in the side firstly, then make sure to get a nice sharp pleat on corner, tack again on other corner.

Step 10
Now remove the temporary tacks which we put in at the line of the bottom of the headboard, pull fabric tight to get rid of any wrinkles. Do the same on the other side and put permanent staples in.

Step 11
Now measure the fabric for the mattress slip section from the original line marked out onto the board. Transfer these measurements to the fabric and arrange the fabric onto the headboard, tack along the line that was marked. Start in the middle and work your way to the edges.

Step 12
Cut your fibre back tack strip to size and secure by stapling the middle. Pull the fabric over and temporary staple the middle and sides of this fabric piece. Now, making sure the fabric is tight, start removing these temporary staples and replacing with permanent staples, working from the middle to the edges.
Before you reach each corner, trim any excess wadding and finish the corners with pleats as shown in previous steps.

Step 13
Now, moving onto the back of the headboard, trim excess fabric and put a few more staples in to secure.
For a neat finish, cut calico to size of the back of the headboard, cut a couple of inches over size and tack onto the back starting in the middle and working your way out, applying tension as you move around.

Step 14
Staple around the T nuts and with a knife cut beneath fabric to give access to threads. Put the bolts into the headboard struts to secure the T nuts.
You now have a finished headboard, bespoke for your interior style.