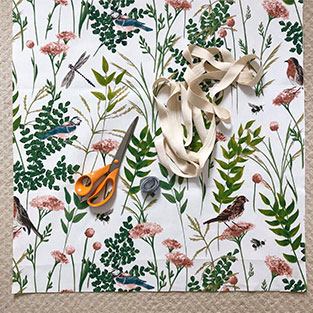
What You Will Need
- A piece of fabric measuring 35 inches long by 28 inches wide
- Approximately 3m of cotton webbing, one inch wide, for the straps
- Sewing machine
- Scissors
- Iron + ironing board
- Tape measure + pen/pencil + safety pin
Step One
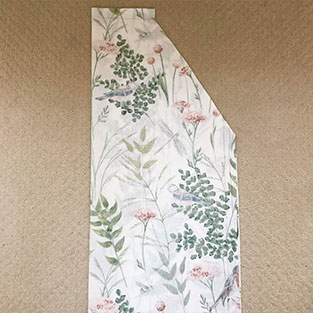
Lay your fabric down, pattern side up and fold in half lengthways so the pattern side is now facing each other. On the raw edge, measure up 22 inches from the bottom and make a point. Now, from the folded edge, measure in 6.5 inches, draw a line down one inch, and make a second point. Join the two points to form a diagonal and cut along the diagonal and the one inch vertical to create your piece ready for sewing.
Step Two
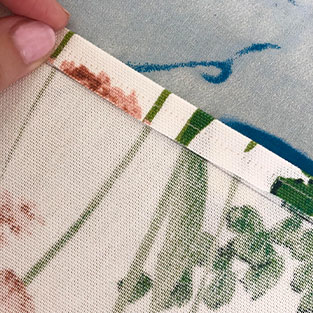
Open up the fabric and lay it pattern side down. Mark a one-inch border all the way around which will be the seam allowance for the apron.

Step Three
Across the bottom of the apron, fold the fabric over half an inch and iron a crease in. Sew along this half inch – this will stop the raw edge of the fabric from fraying and look neater. Once this is done, fold the fabric over again another half inch and run another row of stitches across the apron. The bottom seam is now complete.
Repeat this for the sides and top of the apron, we will then work on the diagonals.
Step Four
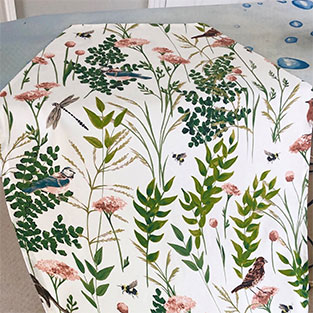
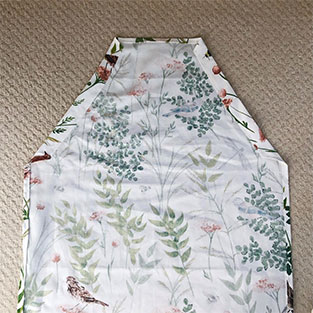
Take the diagonals, and iron in a narrow crease to stitch, as per step three. Once this is done on both diagonals, take the webbing and lay it so it’s flat on top of the apron fabric. Fold the diagonal over the webbing to cover it completely and pin in place. This will be around 1 and ¼ inch wide, if your webbing is 1 inch wide. Pin the fold in place, and you should be able to pull the webbing back and forth.
Step Five
Sew the folded diagonals into place, then attach a safety pin to one end of the webbing and thread it through the folded over diagonal, around the top of the apron to create a loop to go over your head and thread it down through the other diagonal. Once you have created the loop, run a small row of stitches across the back of the webbing to secure it to the apron, keeping the loop in place and to stop your apron sliding off the webbing if you hang it on a hook.
Finally, with the ends of the webbing which form the apron ties, fold over once and then again, stitching across to make it tidy and stop the webbing from fraying.

Finished Apron
Now you have your finished apron and something practical for your kitchen. You could also add a pocket to the top or across the bottom to make it more of a chef-style apron if you’re feeling adventurous.

