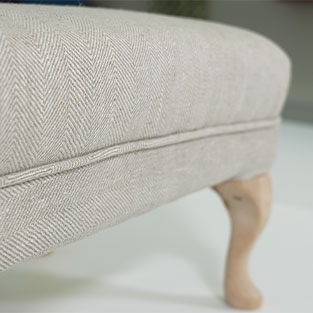
What You Will Need
- Fabric
- Piping Cord
- Scissors
- Sewing Machine
- Measuring Set or Set Square
How to Make Piping
Step One
To create your piping, firstly you need to cut 5cm strips of fabric, make sure to cut these on the bias of your fabric. Cutting on the bias means cutting at a 45-degree angle, this helps with the stretch from the fabric which will help when trying to manoeuvre the piping around the footstool.
Step Two
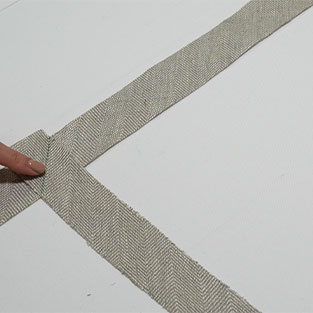
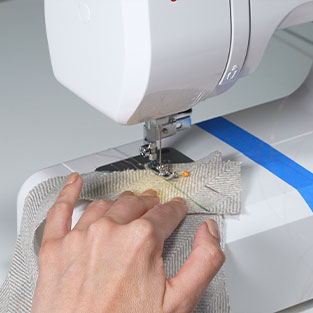
Next, join your strips of fabric to create a continuous piece. Do this by joining the fabrics right sides together and create a right-angle using a measuring grid or set square. Draw on a 45-degree angle – sew line, pin in place and sew on the machine.
Step Three
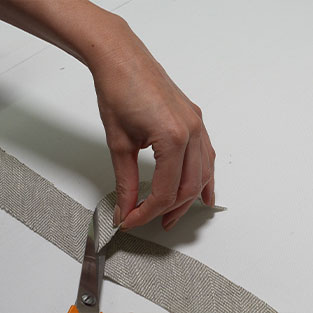
Once you have sewn the strips together, you will see that when you turn the second strip over you have now got a continuous strip to work with. Cut off any excess threads and trim the seam allowance. With an iron or steamer, press the seams for a neat finish.
Step Four
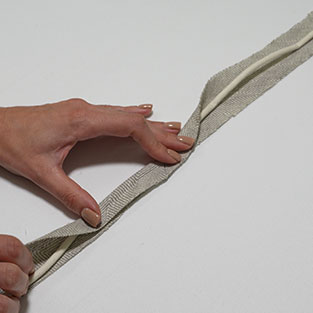
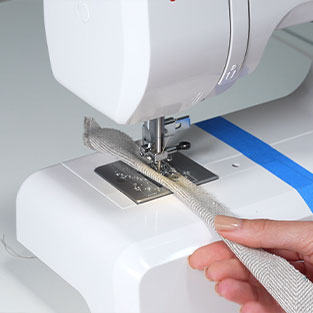
Now your strips are joined together you are ready to position the piping cord onto the footstool. Place the piping cord in the centre of the piping fabric strip, making sure that the seam joins are inside, against the piping cord. Fold over the fabric strip so that the raw edges of the fabric are together.
Step Five
Next, sew a straight line right against the piping cord. You can use a standard piping foot for this or an adjustable zipper foot which is what we have used. Position the foot right against the edge of the cord and sew. You can pin the fabric in place if easier, make sure that the raw edges stay together and keep the foot as close to the piping cord as possible.
How to Join Piping
Step Six
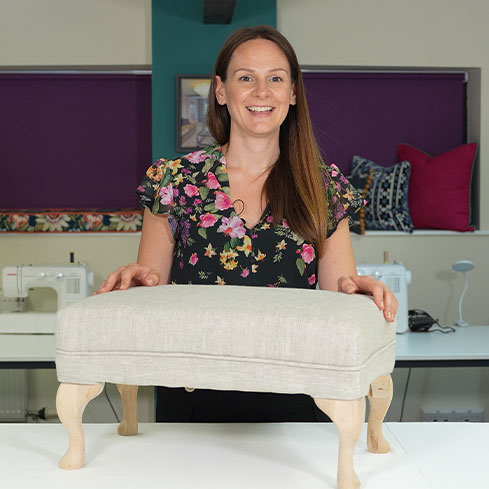
Now the piping is made, you are reading to wrap it around the footstool and secure into place using a staple gun. You want to leave the two ends slightly loose so we can create a professional join which isn’t noticeable
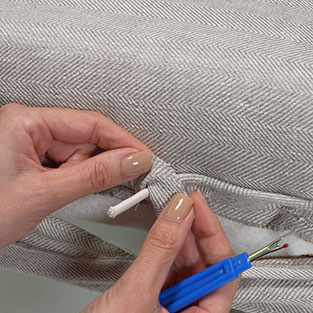
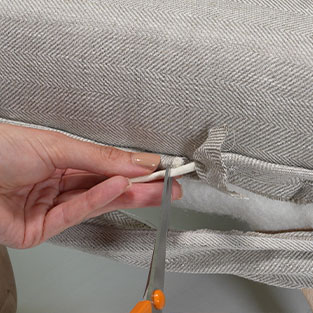
Leave one piping end as it and the other piping end simply unpick the machine stitching just to bring it back past where the piping join is. Once the stitches are unpicked, simply fold the fabric back and line up the piping cord to the other end, keeping it straight.
Step Seven
Now cut the piping cord just past where the other pipping cord end is, just to give a slight overlap. Butt up the cords together and fold the raw edge of the fabric back over the piping. Cover the piping cord and the other end of the cord and fold the fabric under.
How to Neatly Finish Piping
Step Eight
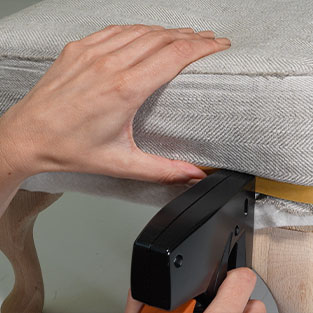
Secure the piping neatly in place using a staple gun, with the piping joined and secured we are now ready to attach the bottom fabric panel.
Step Nine
Do this by using upholstery back tack strip, with right side to right side on fabrics, position the edge of the back tack right against the edge of the piping, staple in place. Do this all the way around the footstool.
Step Ten
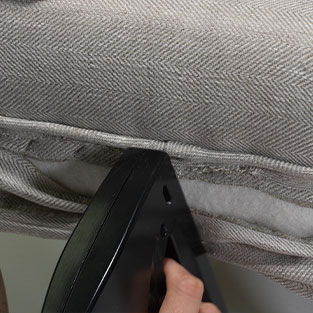
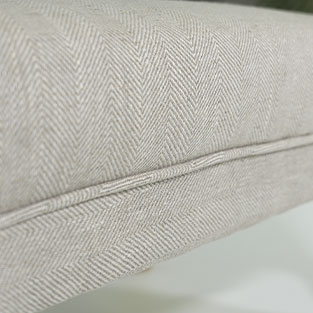
Once the upholstery back tack strip is stapled into place, you can now pull the bottom panel of fabric down, you will now have a lovely, neat edge of the piping.

