FREE April Lining Offer* ENDING SOON - 2024-05-01

How to make a Fabric Pencil Case

On the hunt for a simple and easy sewing project to do at the weekend? This DIY project of how to make a fabric pencil case is perfect - great for all ages and a practical item too.

Being so versatile, this DIY pencil case doesn’t only have to be used for your pens and pencils, but is also perfect for storing your makeup brushes, sewing accessories or even a travel document bag for the plane, to stay stylish and organised.

This quick and easy sewing project is perfect for all sewing levels and can be made from fabric scraps left over from another project. We have used two craft fabrics which are 100% cotton and perfect for crafting, but you could use any fabric for a pencil case. Read on to find out how to make a fabric pencil case.

You Will Need:

  • Two x 11” x 9” pieces of fabric
  • Two x 11” x 9” pieces of lining
  • Scissors
  • Sewing Machine
  • Zip
Step One

Step One

Measure and cut two pieces 11” x 9” of your chosen fabric and two pieces of the same size for your lining. You could use the same design or use a coordinating pattern or colour.

Step Two

Step Two

Place one piece of your outer fabric right side facing down and pin the zip to the top edge. Now place the lining, right side facing up, to meet the same edge. Pin along the zip and then stitch your pinned edge. Repeat this for the other side too.

Step Three

Step Three

Once sewn, open your zip halfway and pin the remaining three edges together, and sew. Now you can trim the bottom corners to ensure you get sharp corners to your pencil case.
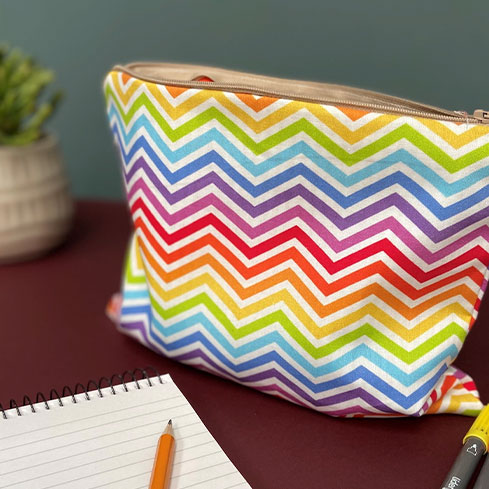
Step Four

Step Four

Turn your pencil case around the correct way and you have a completed fabric pencil case.

Just Fabrics
We price match

Please get in touch with us on 01242 388390 and we can see if we can price match.