

What You Will Need
You will need:
- Fabric
- A sewing machine
- Scissors
- Pencil
- Paper
- Pinking shears
- Pins
- Ribbon
- Stuffing

Step 1
Firstly, draw an easter bunny template and cut it out. It can be any size you’d like.

Step 2
Then, put the template onto the fabric, pin in place and cut out two pieces of fabric.

Step 3
With wrong sides facing, pin around the fabric and sew along the pinned edges with a 1 cm seam allowance. Make sure you leave a gap at the base of the bunny.

Step 4
Next, trim all the edges of the bunny with pinking shears.

Step 5
Insert the stuffing into the bunny, making sure to push it into the ears using a sharp object like your pencil.

Step 6
Now, hand sew the gap closed and then tidy up the edge with the pinking shears.

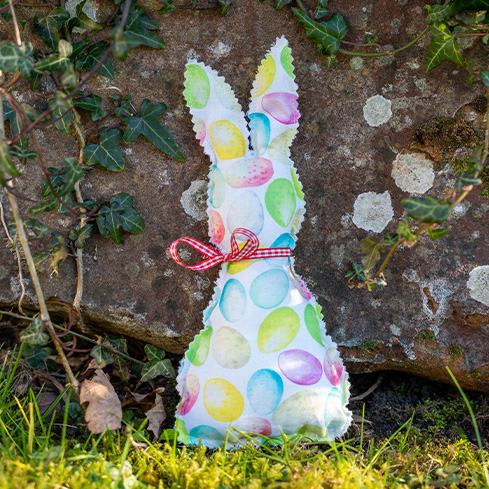
Step 7
Finally, customise your bunny with whatever you like. We’ve used ribbon for the finishing touch.