
What You Will Need
For this step by step guide you will need:
- Needle
- Thread
- Fabric
- Scissors
- Tape Measure
- Sewing Machine
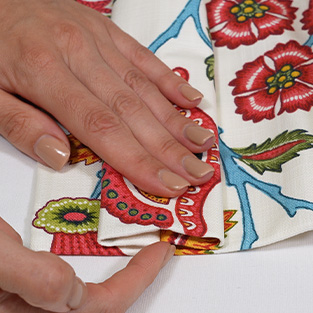
Step 1
Every triple pinch pleat on your curtain heading starts as a single pleat. We've made a full guide on how to pleat curtains, so we suggest following that before proceeding.
To start, smooth your pleat down so it has an even amount of fabric either side of the central point.
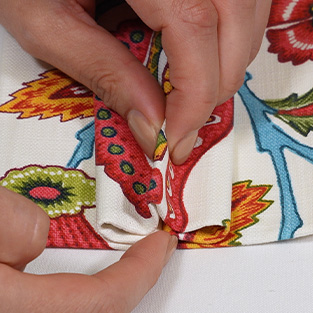
Step 2
At the centre point of the pleat, slowly start to pinch up the buckram and bring it up to create the middle ridge of your triple pinch pleat.
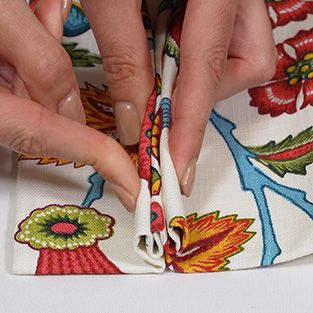
Step 3
Then, slowly bring either side of your pleat up to meet the middle ridge. The 3 ridges of the triple pinch pleat will now be visible and is ready to be secured into place.
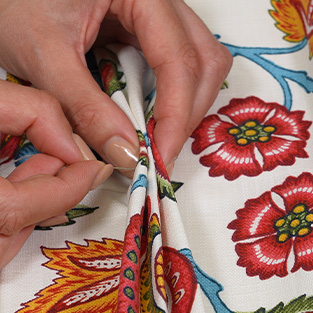
Step 4
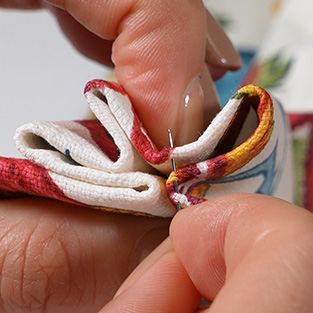
Using a stab stitch, put your needle through one side and then back through again just next to the buckram but fairly high up on the ridges of the pleat. Secure this off with a couple of knots and cut away the excess thread.
Step 5
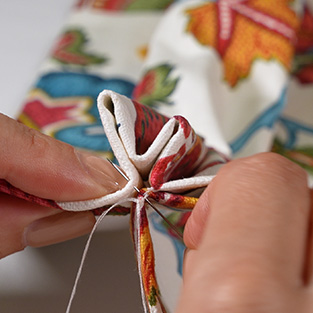
Now we're ready to secure the top end of the pleat. Starting from the back of your curtain and using a stab stitch, put your needle through all the layers and come out inbetween the right hand ridge and the centre ridge. Pull the thread through and then go back through all the layers to where you started. Then, repeat this process again.
Step 6
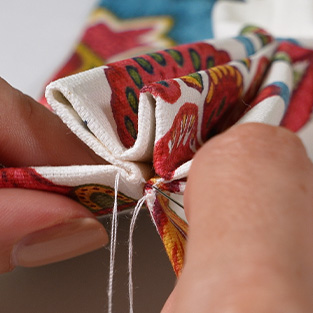
Next, when you're back to your starting point at the back of the curtain, put your needle through the base layers so it appears on the otherside of the pleat. Then repeat the same process you've just completed but this time go from the back of the curtain up inbetween the left hand and centre ridge.
Step 7
When you're back through to the back of the curtain again and both ridges have been secured, sew one last stab stitch through the two bottom layers and then tie off the threads with a couple of knots. Finally, snip away the excess thread.


